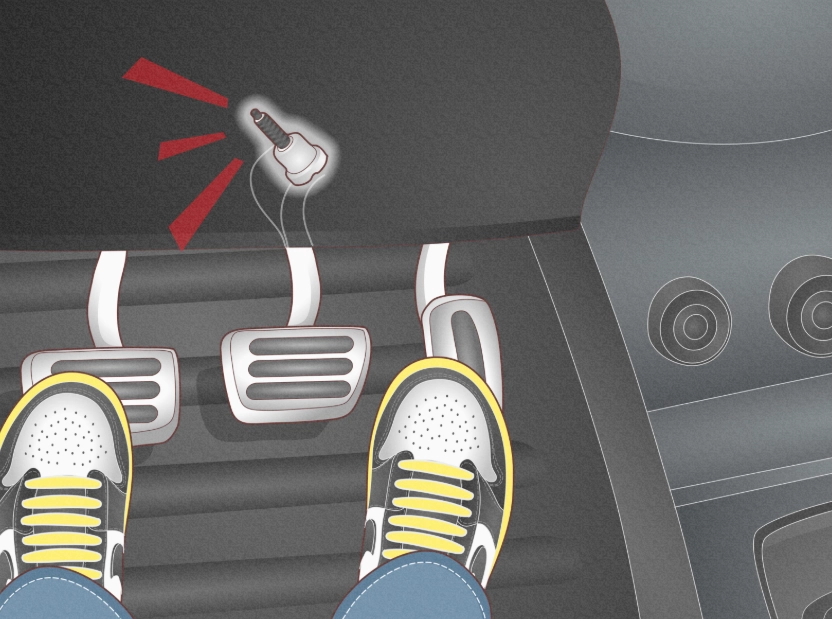
Your car starts feeling rough. There's a slight stumble when you accelerate, and the fuel economy isn't what it used to be. You pop the hood, suspecting the spark plugs. You're probably right. Changing spark plugs is one of the most common and satisfying DIY jobs. But here's the thing most guides gloss over: using the wrong tool, even slightly, can turn this simple job into a nightmare of stripped threads, broken ceramics, and a hefty repair bill. This isn't just about having a wrench; it's about having the right wrench, and knowing the tricks the manual doesn't tell you.
What You'll Find in This Guide
The Non-Negotiable Core Toolkit
Forget the generic "ratchet and socket" advice. For spark plugs, specificity is king. Let's break down the absolute must-haves.
The Spark Plug Socket: It's Not Just a Deep Socket
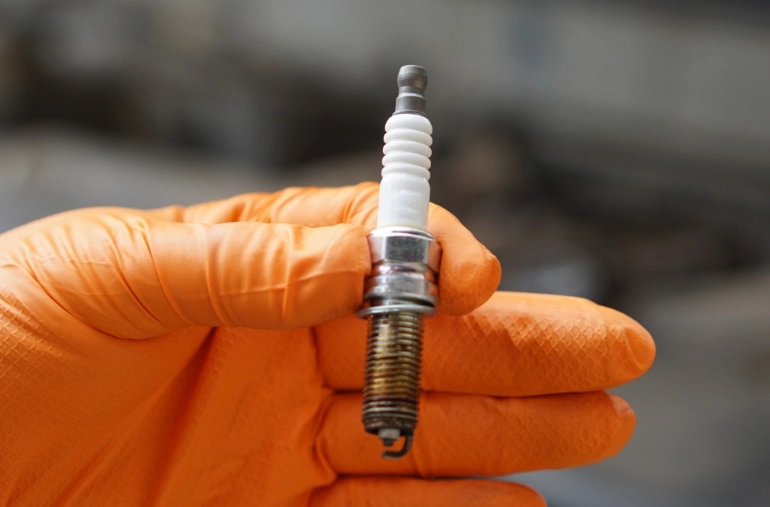
This is your most critical purchase. A standard deep socket will fail you. A proper spark plug socket has a thick rubber or magnetic insert inside its walls. That insert does two vital jobs: it grips the ceramic insulator snugly so you can start the threads by hand, and it cushions the plug, preventing the porcelain from cracking when you're maneuvering it out of a deep, dark hole. Sizes are almost always 5/8" (16mm) or 13/16" (21mm). Most modern cars use the 5/8" size, but always double-check. I made the mistake of assuming once and had to run back to the store mid-job.
The Gap Tool: Your Secret Weapon for Performance
New spark plugs are not always gapped correctly out of the box. Even if they claim to be "pre-gapped," you must check. The gap—the distance between the center and ground electrode—directly affects the spark's strength and your engine's efficiency. An incorrect gap can cause misfires. Don't use a coin-style gauge. They're inaccurate and can damage the electrode. You want a wire loop gauge or a feeler gauge set. The wire loop is my go-to; you simply slide the correct wire between the electrodes. If it doesn't fit or is too loose, you gently bend the ground electrode (never the center one!) to adjust.
Extensions, Swivels, and a Good Ratchet
Engine bays are cramped. You'll need a quality ratchet (3/8" drive is perfect) and a set of extensions—6-inch and 3-inch are a good start. A universal joint or swivel socket is often the difference between reaching the plug and giving up in frustration. For transverse-mounted V6 engines, this isn't a luxury; it's a requirement. Invest in decent ones. Cheap swivels have too much play and can round off bolt heads or make it hard to apply steady torque.
| Core Tool | Primary Purpose | Key Feature to Look For | Approx. Cost Range |
|---|---|---|---|
| Spark Plug Socket (5/8" or 13/16") | Gripping and turning the plug without damage | Internal rubber/magnetic insert, thin wall design | $8 - $25 |
| Spark Plug Gap Tool | Measuring and adjusting electrode distance | Wire loop gauge or blade feeler gauges | $5 - $15 |
| 3/8" Drive Ratchet & Extensions | Providing torque and reach in tight spaces | 72-tooth ratchet for fine control, various extension lengths | $20 - $60 (for set) |
| Torque Wrench | Applying precise, manufacturer-specified tightness | Click-type, 3/8" drive, range that includes 10-25 ft-lbs | $40 - $120 |
Beyond the Basics: Specialized Tools You Might Need
Depending on your car, the job can get more involved. Here are tools that solve specific, common headaches.
Torque Wrench: This is where DIYers separate from pros. You can guess the tightness. But overtightening can crack the plug's shell or strip the aluminum threads in your cylinder head—a catastrophic repair. Undertightening can lead to poor heat transfer and a plug blowing out of the hole. A click-type torque wrench set to your car's spec (usually between 15-22 ft-lbs for most passenger cars) is the only way to be sure. It's not cheap, but it's cheaper than a helicoil thread repair.
Plug Wire Puller / Boot Lubricant: On older cars with traditional ignition wires, the rubber boot can fuse to the spark plug. Yanking the wire can tear the boot or damage the wire's internal conductor. A dedicated plug wire puller grips the boot, not the wire. A dab of dielectric grease on the new boot prevents this from happening next time.
Compressed Air or Small Vacuum: Before you remove the old plug, you MUST clean the area around it. Any dirt or debris falling into the cylinder can score the walls. A quick blast of compressed air is ideal. No compressor? A flexible nozzle on a shop vac or even a new, clean paintbrush works in a pinch.
The Foolproof Step-by-Step Process with Tools in Action
Let's walk through a real-world scenario on a common 4-cylinder engine, focusing on the tool use.
First, engine cold. Always. An aluminum head expands when hot, and you risk damaging threads. Disconnect the battery for safety. Now, identify your plugs. Often, they're under ignition coils. Remove the coil hold-down bolt (usually a 10mm) and gently wiggle the coil out.
Here's the crucial pre-removal step most skip: take your compressed air or small vacuum and clean out the spark plug well. I can't stress this enough. I learned this the hard way on a dusty truck engine years ago.
Now, tools come into play. Attach your spark plug socket to a 6-inch extension, and attach that to your ratchet. Slide it onto the plug. Apply steady counter-clockwise pressure to break it loose. Once loose, disconnect the ratchet and use the extension and socket alone to unscrew the plug the rest of the way by hand. The rubber insert should hold the plug as you lift it out.
Inspect the old plug. Its condition tells a story about your engine's health—a topic for another day. Now, take your new plug and your gap tool. Check the gap. Adjust if necessary with the tool's bending lever. Apply a tiny smear of anti-seize compound to the threads (if the plug manufacturer recommends it—some platinum/iridium plugs come with a coating and don't need it).
Hand-thread the new plug into the hole using only the extension and socket. This is the most important step for preventing cross-threading. If it doesn't spin in smoothly, back it out and try again. Never force it. Once finger-tight, attach your torque wrench. Set it to the spec (find it in your owner's manual or a site like NGK's technical info). Tighten until the wrench clicks. That's it. Reinstall the coil, reconnect the battery, and start her up.
The Top 3 Tool-Related Mistakes (And How to Avoid Them)
- Using the Wrong Socket Size or Type: A 6-point socket is mandatory. A 12-point can slip and round the plug's hex. Measure or research your plug's size before you start.
- "Guesstimating" Torque: "Snug plus a quarter-turn" is folklore, not precision. Aluminum heads are unforgiving. A torque wrench pays for itself in one avoided disaster.
- Ignoring the Gap on New Plugs: I've seen brand-new plugs from reputable brands off by .005" or more. That's enough to cause a slight misfire under load. Five minutes with a gap tool eliminates this variable entirely.